Showing posts with label yellow. Show all posts

Friday, April 26, 2013

Vintage Inspired Three Petal Flower Bead Necklace

Inspiration for a creating a bright flowery necklace was plentiful yesterday as I sat next to my sunny open window enjoying the fresh spring air, testing out a few design configurations I had imagined. In my Wednesday post I mentioned the lack of jewelry that uses the three petal glass flower beads and as I played around with bunching them in threes I  began to recall images of vintage jewelry I have seen on our antiquing trips.  This is the result of that inspiration.
This is a wonderful necklace that is deceivingly simple to make.

Begin by cutting a length of antique brass chain to your desired necklace length. Then a 2-3 yard length of c-lon beading thread. Start the beadweaving on the toggle end by stitching a 12 bead wide by 4 bead tall peyote rectangle with the following pattern.
If you are unfamiliar with how to create a peyote toggle then please join us next week on our new blog site where we will kick off our month long celebration of the seed bead with instructions on creating a peyote toggle.
Weave in the tail thread (but do no cut it off) and stitch up the toggle. Then weave in six beads toward the  center and pick up six green seed beads and pass through the first link in the chain. At this point the trick is to insure that the chain stays facing the same way as you weave in and out of it. Here I started with a couple of loops that are 11 beads long and spaced 8 chain links apart.

The next step is adding the daisies. Pick up 5 green and 6 orange beads then pass through the orange beads in the direction they were strung being very careful to pull everything up to the chain as you do this step. Pass through the first 2 orange beads once more. 
Then you can pick up a yellow bead for the center and pass through the two beads opposite the two you are exiting in the same direction.
   Pick up five more beads and pass through the ninth chain link down from the link where this length of beads exits.
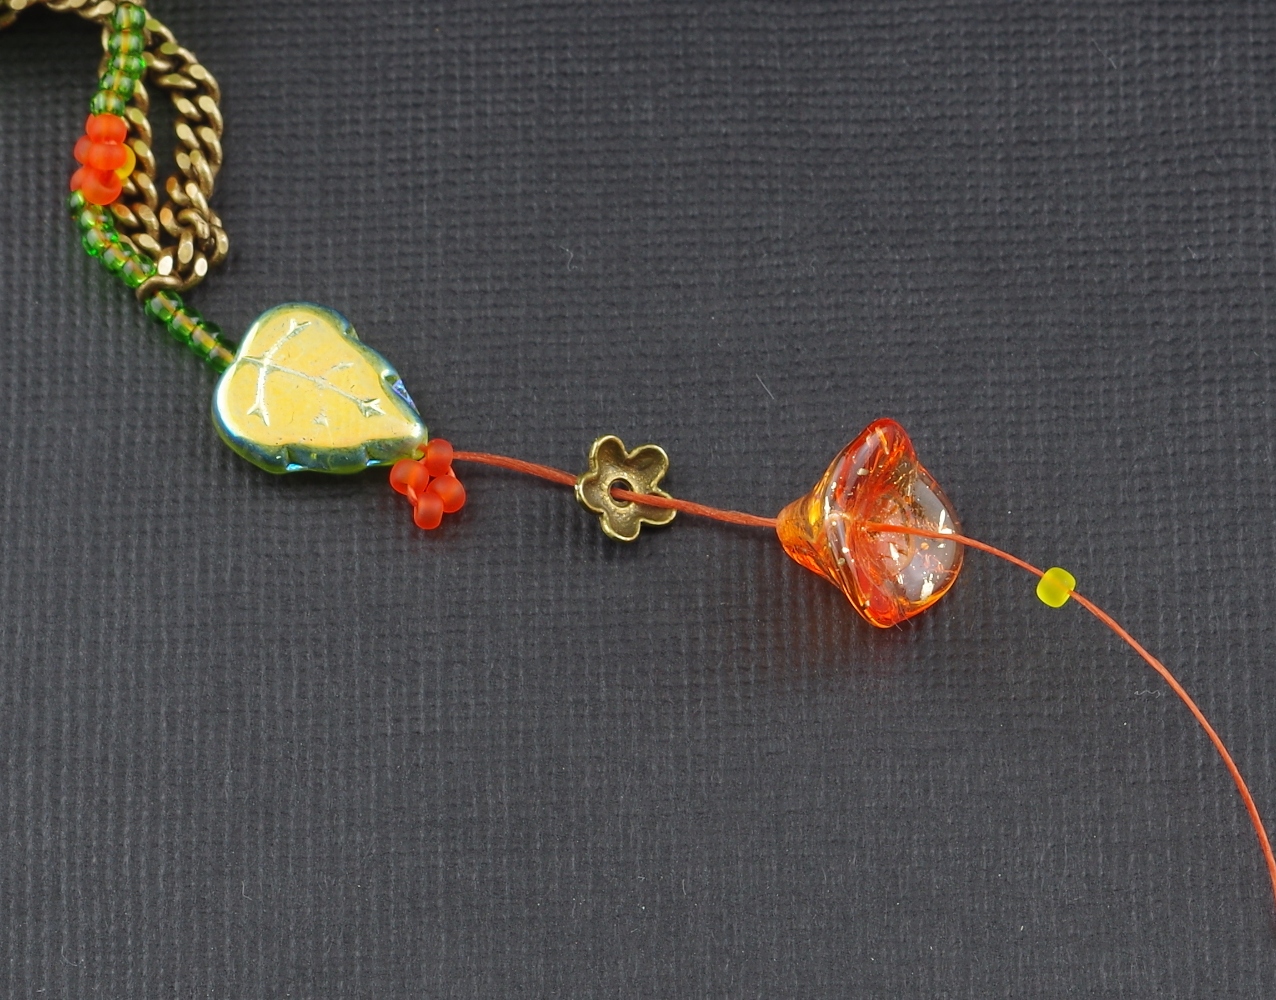
Repeat this step about half way down the chain until you get to the point where you will want to add your first 3 flower dangle. For you first dangle you will pick up 7 green beads, 1 leaf bead, 4 orange beads. Again, tension is important as you pass through the 4 orange beads in the direction they were strung plus one.
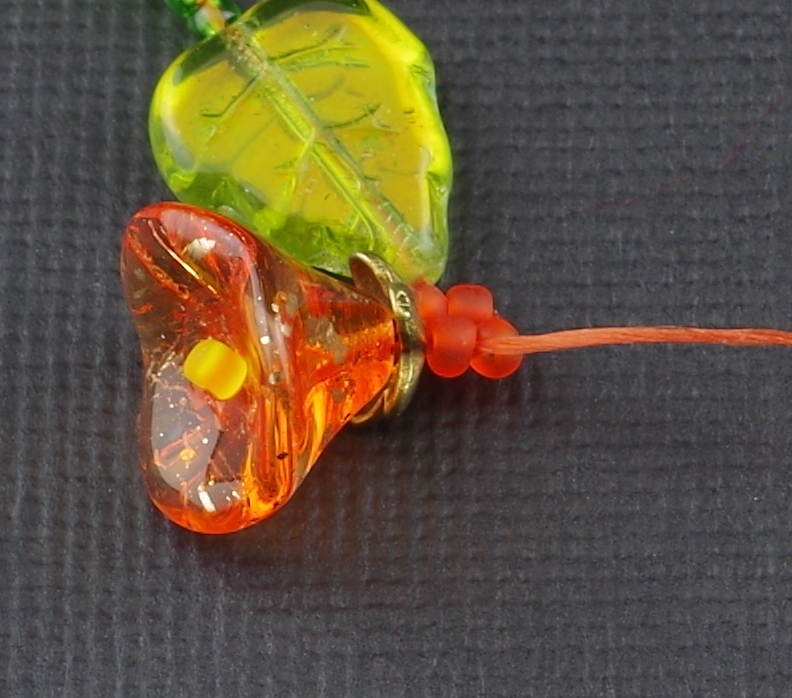
Now you can add the three petal flower beads by picking up 1 bead cap, 1 flower bead, and 1 yellow bead. Then pass back up through the flower and bead cap and the next orange seed bead, skipping the yellow bead.

Add the next two flowers in the same way before passing back up through the leaf and one green seed bead. pick up 3 green beads and pass through the fifth chain link from the last link you exited. You want all three dangles to fall on the same side of the chain so you will add a daisy chain length between each dangle to return to the same side. On the center dangle only pick up three green beads on each side and only skip one chain link and on the third dangle pick up the three and six green beads in the opposite order from the first so that the necklace drapes correctly.
Weave up the second half of the chain the same way you did the first omitting the daisies on the last two loops. It is okay if you have to fudge the number of chain links between these last two loops. No one is counting. Once you have passed through the last link in the chain pick up 16 green beads and pass through the last green bead from the last loop and that last link of chain to form the lasso for the toggle. Pass through the lasso 2-3 times to secure it before weaving back down through those last two loops to tie off your thread.
Now, remember the tail thread you left on the toggle at the beginning?  This was left so that you could go back and pass through where the toggle and the stringing meet a couple of times to secure this connection before tying off this thread.

Fin

These are quick instructions intended for beaders who know peyote and daisy chain stitch. If you are still new to beading and would like to create this necklace, please ask any questions below and continue to follow us next month as we celebrated seed beads at our new blog home with new component tutorials each week.

Thanks for reading!

Friday, April 19, 2013

Lavender and Lemon Anklet

If you follow me on pinterest then you can probably guess that my favorite color is purple, and my favorite color combination is purple and yellow. This week's hero is my favorite bead in our shop and it was so exciting to use them in my jewelry creation this week.
I created this really fun dangly anklet on Julie's request. It is so striking and as much fun to wear as it was to make. This is a very simple project that uses just ladder stitch and fringe and works up very quickly. If you do not use seed beads often in your jewelry, the ladder stitch for this anklet is started by stringing 4 size 11/0 purple seed beads onto your thread and passing back through the first two beads in the same direction they were strung.
When pulled tight this will start your ladder with the two 2-bead stacks next to each other.  Continue the ladder by simply picking up 2 beads at a time and passing back through the previous two beads in the ladder. Every third row you can add a leg of fringe.
Here I strung 1-yellow, 9-purple, 1-yellow, 1-purple, the 6mm hero, and 1 purple. Skip the last purple seed bead and thread back up through the fringe leg and the ladder stack above it to attach the fringe and then continue with your ladder for another 3 rows. I shortened every third leg of the fringe a bit by adding 5-purple instead of 9 after the first yellow. You can make the fringe any length you like of course.
Add a spring ring on one end and a lobster clasp on the other by picking up 7-purple and the ring/clasp and passing back through the last ladder stack. Pass back through once or twice to make it secure. You will want to get a lot of wear out of this one!

You can get the materials for this anklet and your other jewelry projects for 20% off in our four day weekend sale using coupon code BEARTHDAY so go get some beads!

Wednesday, April 17, 2013

Bead Hero of the Week

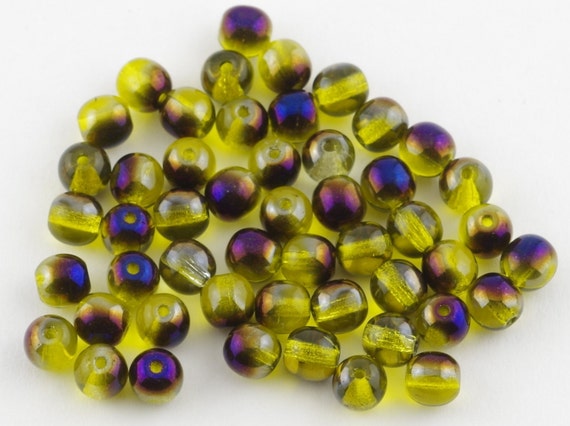
The sun came out yesterday and it was so nice to get out and walk wearing a jacket and no hat, feeling the sun's rays hit my face. That seemingly insignificant walk has made me even more excited about spring colors. This week, these 6mm round yellow glass beads with the blue iris finish make a perfect spring hero, like small iris buds waiting patiently for their turn in the garden display. 

If you love these or just need beads for your next project, shop with us this weekend for our four day 20% off Birthday and Earth day celebration sale. Sale starts Friday 4/19 and runs through Monday 4/22 (the day we celebrate the earth and Jessie's birth!). Use coupon code BEARTHDAY to receive your 20% discount.

Friday, April 5, 2013

Laser Beams Simplified

A challenge I made to myself was to create a simple project with just the bright yellow seed beads and white thread. I carried just these items with me on our little road trip to avoid any temptation of adding extra beads. Luckily, I was able to rescue the beads from the green monster who tried to eat them so I could string this week's project.
I made a simple peyote tube toggle and two small brick stitch triangles five beads wide at the base to separate the three strands 16in, 18in, and 20in long. The result is a great summer necklace to wear with your favorite sun dress or beach wear.
You can see how the yellow beads just glow with that white thread behind them. I love to switch up the thread colors behind transparent beads though so I couldn't help myself from stitching a peyote bezel for a bottle cap using a dark orange thread.

The orange thread changed the yellow to match the more yellow orange color on the bottle cap. A perfect color combo. Maybe some green thread next time will pull that laser beam yellow in another direction. Imagine what fun you can have with just a bag of transparent seed beads and a few different thread colors. Until next time, have fun and bead on.

Wednesday, April 3, 2013

Hero of the Week

As promised, our bead heroes have returned and this week we are featuring one unforgettable hero. A small but bold and striking bead that doesn't need to be large to grab your attention.
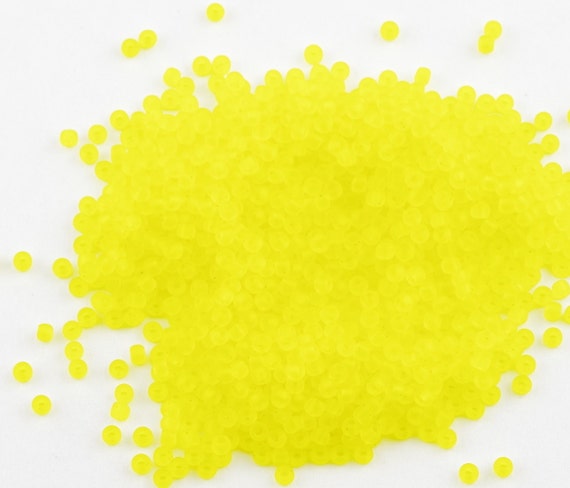
When our daughter was about eight years old we let her pick out the colors she wanted us to paint her bedroom. She likes bold colors just as we do. She picked green and blue for the walls and for the trim she picked a color called Laser Beam Yellow. That name very much suits these beads even more so than the Transparent Frosted Lemon Yellow name they came with. They are transparent though so you know what that means, color play with thread! This Friday I will share  with you a super simple necklace that will look great with your summer beach wear and a pendant that uses a different thread color to change the look a bit - but certainly not the boldness.

Until then, let us know what you think of this week's hero in the comments below. Does the intense color frighten you or do you embrace amazingly bright colors in your beadwork?

Wednesday, February 27, 2013

Hero of the Week

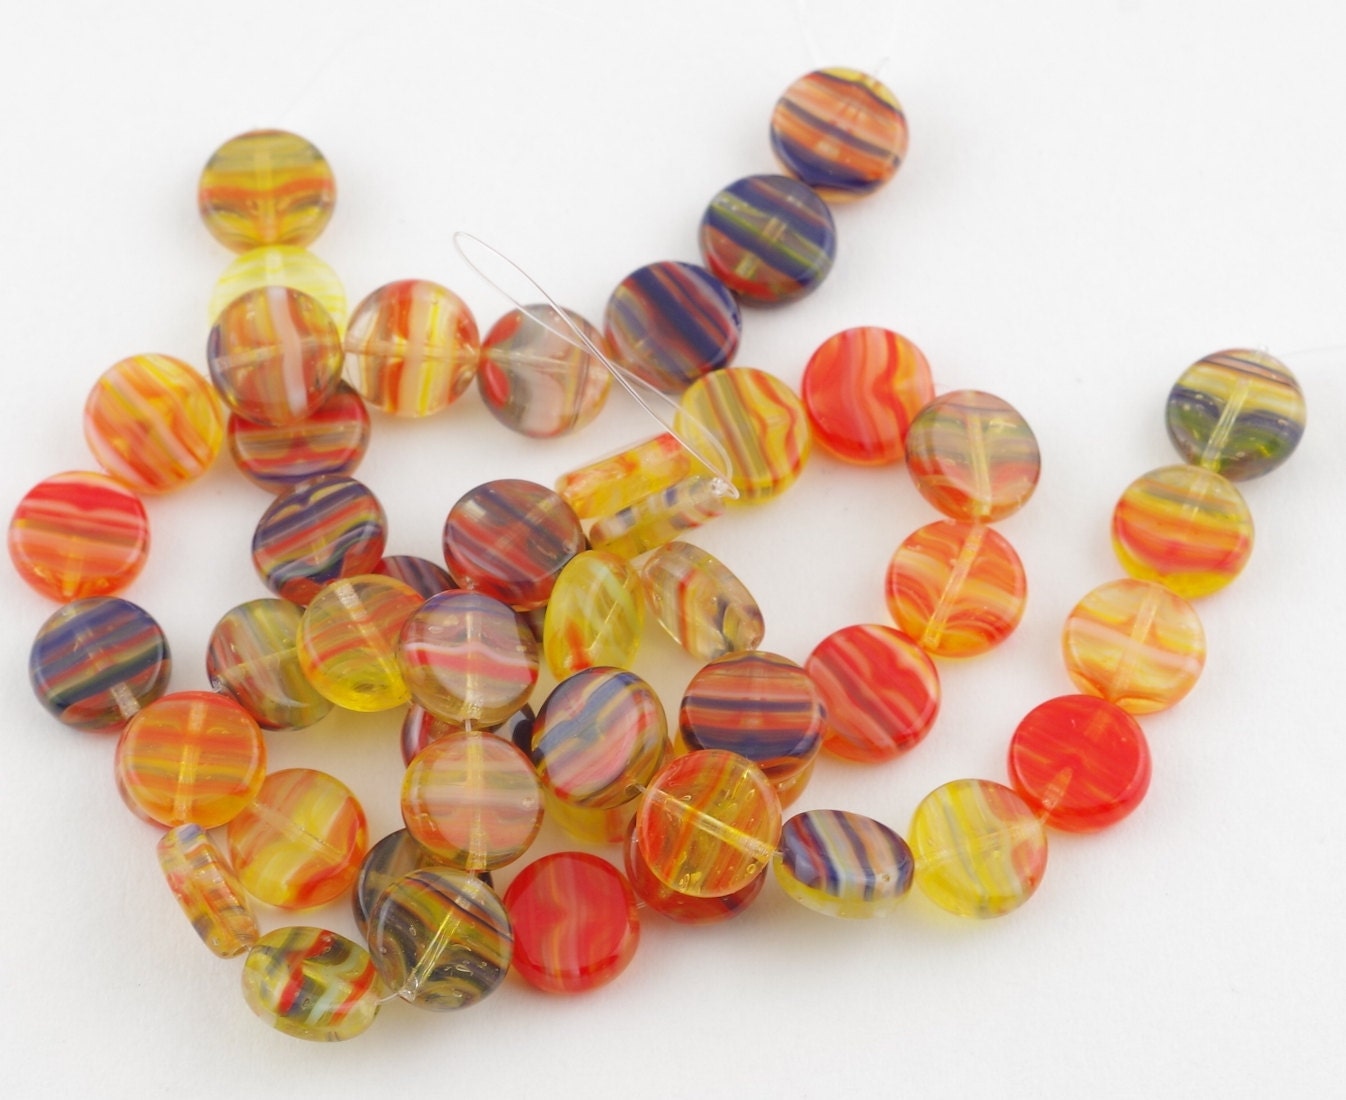
Primary colors swirl through this week's heroic gorgeous glass beads.
You can imagine that as a seed bead weaver, this shape is not one I commonly use. I have seen this shape used in some beautiful jewelry though. If you have a design idea for this dime shape that you will share with the group, tell us about it in the comments and I will show you what I did come up with on Friday.

Until then have fun and bead on!